Here’s how to make a portobello mushroom burger that everyone loves: grilled or roasted! Savory and meaty, it’s irresistible with cheese and special sauce.
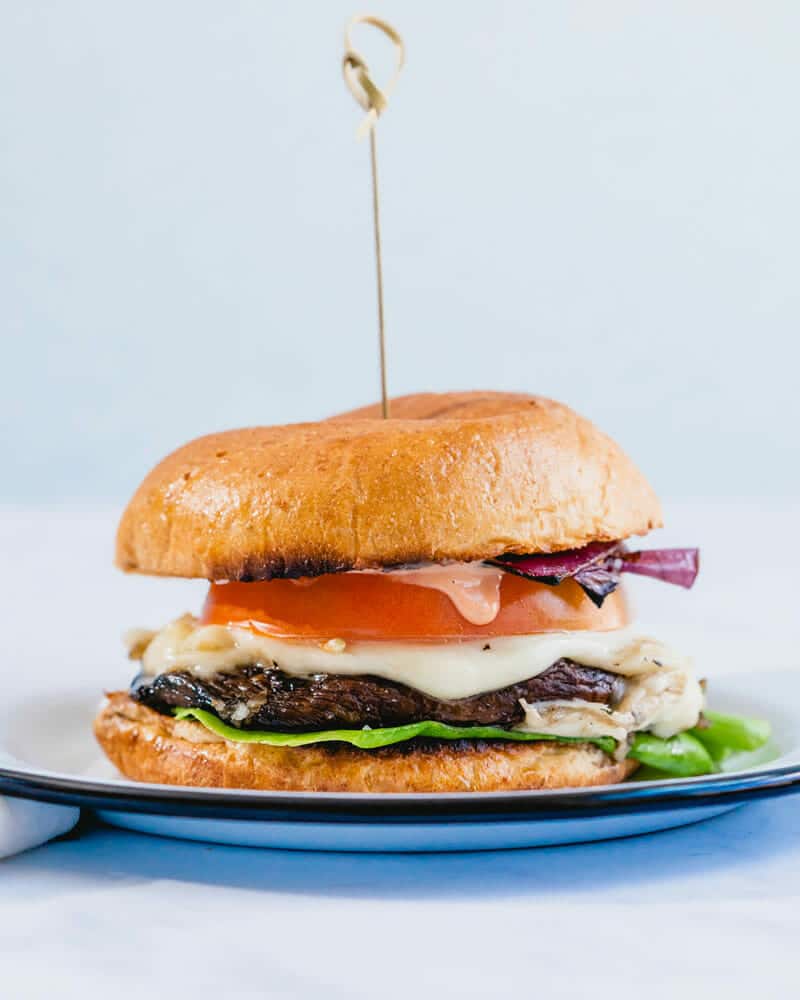
Meet: your perfect portobello mushroom burger. This giant meaty mushroom is irresistible on is own. But add it to a burger bun and pile it high with toppings, and it’s downright outrageous!
So you can make it in any season, I’ve got two methods: grilled or roasted. I love it as a vegetarian grill recipe eaten on the patio with the wafting smell of charcoal, but it’s fantastic in any season. Here are all my tricks to the very best portbello mushroom burger.
5 Star Reader Review
 “Loved this recipe, and it was very quick and easy, too! We topped the portobellos with reduced fat Jarlsberg cheese and your Special Burger Sauce, and they were delicious! This will be our go-to for portobello mushroom burgers.” -Jan
Grilled or Roasted: Two Easy Methods
To get the very best portobello mushroom burger there is, we think the grill is the number 1 method. But if it’s not summer and you want to make it too: roasting is nearly as tasty. Here’s a breakdown on both methods:
- Grilled portobello burger: You’ll use our Grilled Portobello Mushrooms method: grill those babies for about 15 minutes at medium high heat. Start with the gill side up, so when you flip all the extra liquid goes into the grates.
- Roasted portobello burger: You need only 15 minutes at 450 degrees Fahrenheit to roast up your mushrooms! Make sure to drain the extra liquid. Sometimes we like to add a few shakes of liquid smoke before roasting to emulate a grilled flavor. Just be careful not to overdo it!

The Secret Is in the Toppings
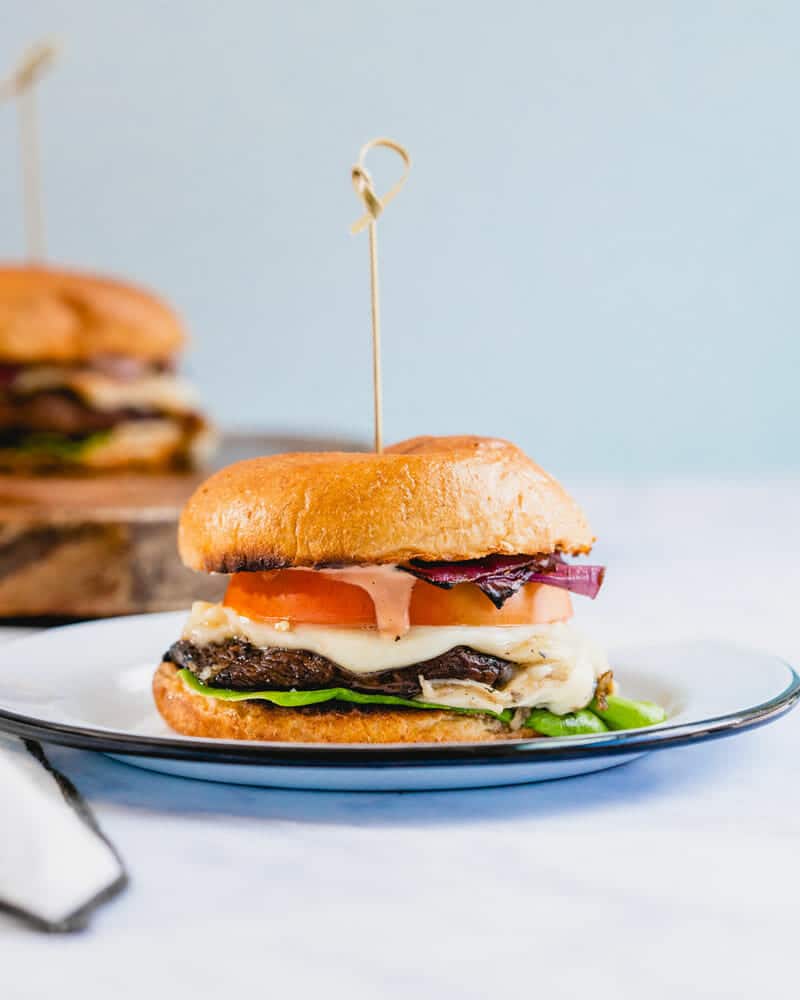
Here’s the truth about portobello burgers: on their own, portobello mushrooms are soft in texture — and they’re not very filling! If you’re serving it in place of a protein, the mushroom can get a little lost in the bun. The fix is texture and substance from your toppings:
- Cheese: To keep it filling and add protein, I like to add lots of cheese (two slices). Substitute your favorite vegan cheese for a plant-based sandwich.
- Crunchy veggies: Lettuce and red onion help to add texture and crunch
- Tomato: Because it’s just good.
- Sauces: It’s also important to add some great sauces to amp the flavor. I like adding Basil Pesto because it’s garlicky (optional), and then of course our Special Burger Sauce that’s super tangy, creamy and savory all at once.
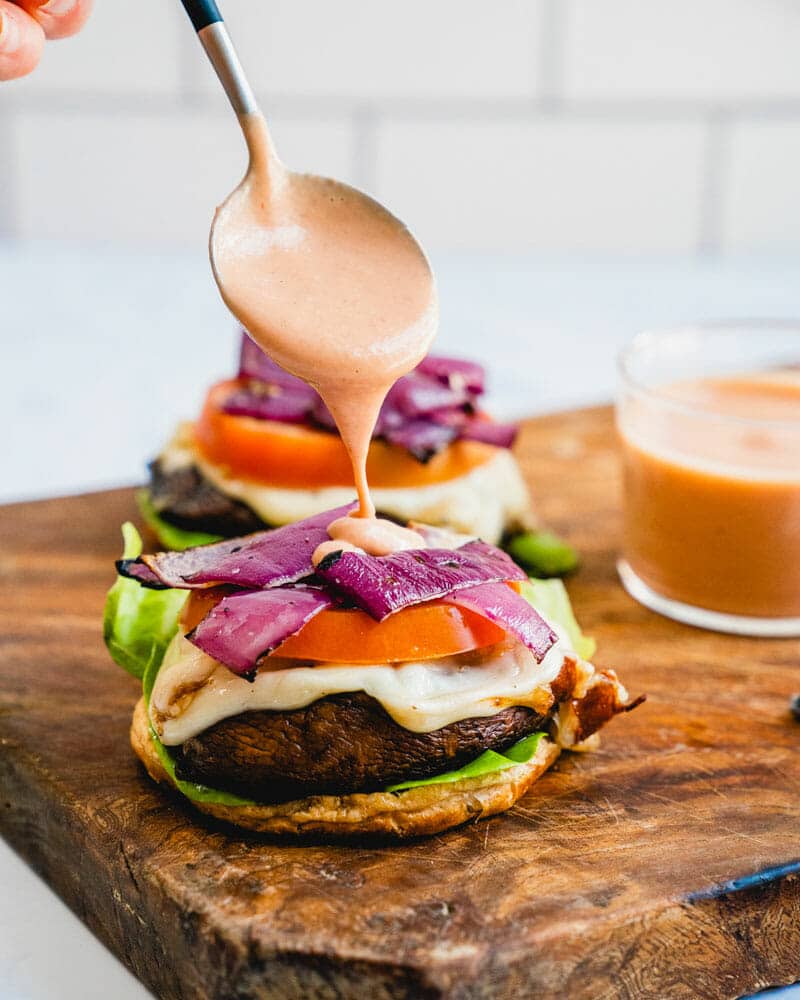
Don’t Skip the Special Sauce
This Special Burger Sauce we created just for these portobello mushroom burgers! Veggie burgers in particular need good sauces, because they can be dry or bland without them. This burger sauce is like all your favorite burger condiments in one, and tastes a little like a Big Mac sauce. Here’s what’s in it:
- Organic ketchup
- Mayonnaise
- Mustard (either yellow or Dijon)
- Pickle juice
- Hot sauce
Two Fun Flavor Variations
Here are a few flavor variations I like to make:
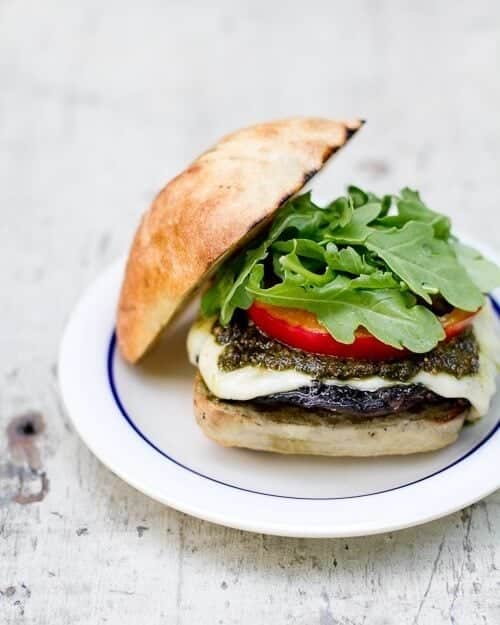
- Pesto variation: Top with provolone cheese, a dollop of basil pesto, a tomato slice, and baby arugula (lightly dressed with olive oil), and serve on a ciabatta roll. See Pesto Portobello Burger.
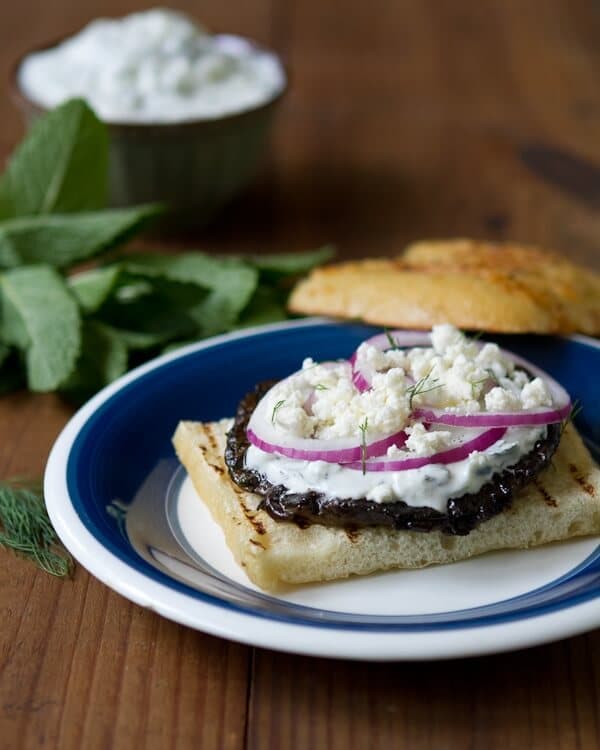
- Tzatziki variation: Top with a dollop of tzatziki sauce, feta crumbles, and sliced pickled red onions and serve on sliced focaccia bread. See Greek Portobello Burger.
What to Serve With Portobello Mushroom Burgers
These portobello mushroom burgers are a great summer vegetarian recipe and vegan dinner idea! There are lots of sides that go well with burgers: here are some of our favorites:
- Fries. Try our Baked Fries, Sweet Potato Fries or Parmesan Truffle Fries
- Grilled potatoes. Try Grilled Potatoes, Grilled Baked Potato or Grilled Sweet Potatoes.
- Coleslaw. Try Creamy Coleslaw, Vinegar Coleslaw, Mexican Coleslaw, Red Cabbage Slaw, or Broccoli Slaw.
- Corn. Try Grilled Corn 3 Ways: perfect corn on the grates, corn in foil, or corn in husk.
- Bean salad. Loaded with plant-based protein, so it’s perfect for making a filling meal. Try Easy Bean Salad.
- Potato salad. Try Creamy Potato Salad, French Potato Salad, or Dill Potato Salad.
Love portobellos? Try these delicious Stuffed Portobello Mushrooms or all our Portobello Recipes.
Dietary Notes
This portobello mushroom burger recipe is vegetarian and gluten-free. For vegan, plant-based, and dairy-free, use vegan cheese or omit and load with other toppings!
Portobello Mushroom Burger Recipe

5 Stars 4 Stars 3 Stars 2 Stars 1 Star
4.8 from 4 reviews
Here’s how to make a portobello mushroom burger that everyone loves: grilled or roasted! Savory and meaty, it’s irresistible with cheese and special sauce.
- Author: Sonja Overhiser
- Prep Time: 10 minutes
- Cook Time: 15 minutes
- Total Time: 25 minutes
- Yield: 4 1x
- Category: Main Dish
- Method: Grilled or Roasted
- Cuisine: American
- Diet: Vegetarian
Ingredients
- 4 portobello mushrooms
- 2 to 3 tablespoons olive oil
- ½ teaspoon garlic powder
- 1 teaspoon smoked paprika
- ½ teaspoon kosher salt
- Fresh ground black pepper
- 8 slices provolone or sharp cheddar cheese (or substitute vegan cheese; see Notes)
- For serving: Buns, lettuce, tomato, red onion, Basil Pesto (optional or see Notes), Special Burger Sauce
Instructions
- Preheat a grill to medium-high heat (375 to 450 degrees Fahrenheit) or preheat an oven to 450 degrees*.
- Clean the portobello mushrooms and remove the stems. Place them on a baking sheet gill side up. Drizzle the tops the olive oil and use your hands to rub on the bottoms. Then place them back on the sheet gill side up and sprinkle with garlic powder, smoked paprika, kosher salt and several grinds of black pepper. Rub them until evenly coated.
- For the grilled method: Place the mushrooms directly on the grates gill side up, and grill 10 to 14 minutes until tender and juicy. Liquid will pool in the cap. Flip the mushrooms (this drains the liquid into the grates). Then top with the add cheese slices and cook for an additional 2 to 3 minutes until melted. Tip: Step up your burger and grill the burger buns for about 1 minute on one side until lightly toasted!
- For the roasted method: Place the baking sheet in the oven and roast for 15 minutes until tender. Drain of any excess liquid, then top with cheese and roast another 1 minute until the cheese melts.
- Serve: Place the mushrooms on buns. Top with lettuce, tomato, red onion, basil pesto (optional), and Special Burger Sauce.
Notes
Smoky flavor: If you want to infuse a little smoky flavor to the roasted version, add a few shakes of liquid smoke to each mushroom (it’s potent, so don’t overdo it).
Pesto variation: Top with provolone cheese, a dollop of basil pesto, a tomato slice, and baby arugula (lightly dressed with olive oil), and serve on a ciabatta roll. See Pesto Portobello Burger.
Tzatziki variation: Top with a dollop of tzatziki sauce, feta crumbles, and sliced pickled red onions and serve on sliced focaccia bread. See Greek Portobello Burger.
More Veggie Burger Recipes
There are lots of other great ways to make a veggie burger! Try them all:
- Best Veggie Burger This mouthwatering veggie burger is slathered with barbecue sauce and doesn’t fall apart on the grill! It’s truly the best you’ll find.
- Best Chickpea Burgers A hugely satisfying plant-based dinner! Here they’re painted with BBQ and served topped with vegan bacon and spicy mayo.
- Black Bean Burger Bursting with flavor! Top with special sauce for a treat.
- Falafel Burger Easy to make and healthier than traditional falafel! Serve with or without a bun, topped with any sauce you like.
from A Couple Cooks https://ift.tt/gO6qELj