


This Mexican street corn recipe (aka elote) is grilled until charred, then slathered in a creamy chili-lime sauce. Tie back the husks for a built-in handle!
What’s the perfect summer side dish? This Mexican street corn recipe, in my opinion. One bite of elote and you’ll be a believer: it’s sweet, smoky, savory, creamy, and tangy: all at once. It’s grilled to charred perfection and slathered in a creamy spiced sauce with cheese crumbles.
Here’s my favorite way to make at home (though of course, it’s best on the street in Mexico!). I’ll show you how to grill corn perfectly and keep the husk as a built-in handle. Serve it with tacos like these favorite grilled shrimp tacos, grilled fish, or a good old burger.
5 Star Reader Review
 “I made this recipe 2 weeks ago and everyone loved it. I’m making it again tomorrow for another party! Thanks for the recipe.”-Janine
What Is Elote?
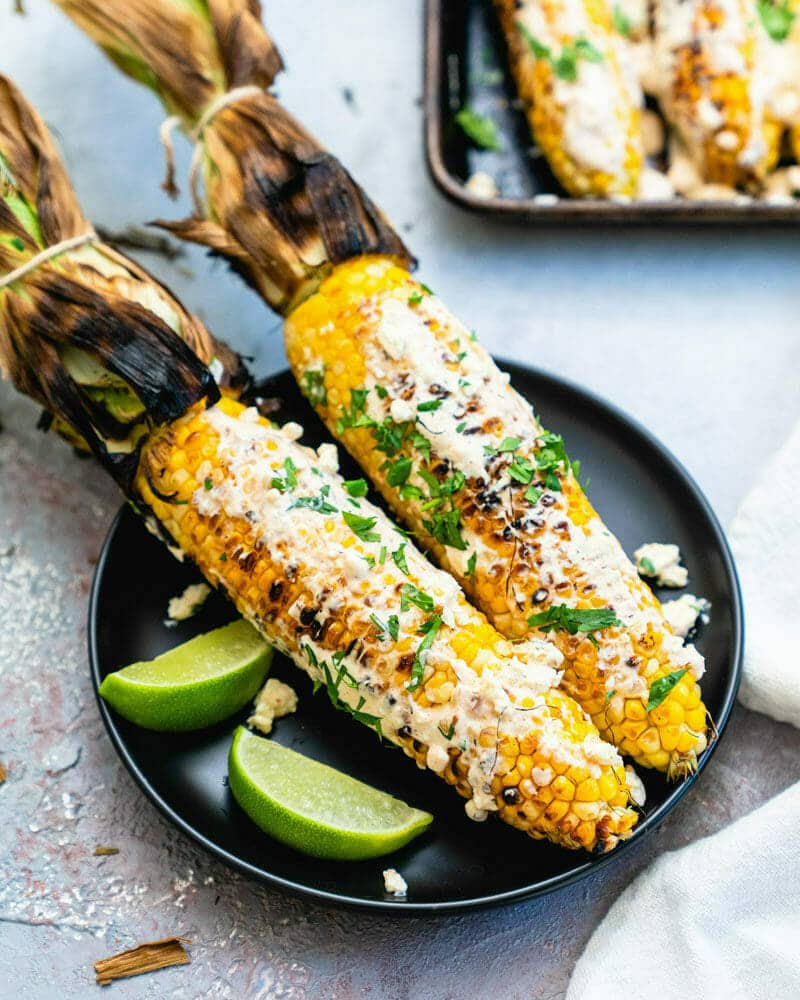
Elote is grilled corn that’s slathered in a sauce of sour cream, mayonnaise, and chili powder, and sprinkled with cheese. It’s a popular snack served by street vendors in Mexico, so it’s often called Mexican street corn. Of course, it’s the very best on the street in Mexico or cities that have a strong Mexican heritage: there’s nothing like it!
What makes elote so irresistible is the contrasts of flavors and textures. You’ve got the sweet corn, charred to smoky perfection on the grill, then the creamy mayo and sour cream sauce. Our sauce has chili powder, garlic powder and cumin, then it’s filled with chunks of feta, cotija, or queso fresco cheese. Serve it with tangy lime and cilantro, and the crunch of the corn against the creamy, messy sauce is so satisfying.
Ingredients for Mexican Street Corn
Here’s what goes into this Mexican street corn recipe, and why:
- Sweet corn on the cob: In-season corn is worth waiting for, here! I love buying it by the bag at the farmer’s market.
- Neutral oil or olive oil: Grapeseed, vegetable, sunflower, or olive oil.
- Sour cream or Mexican crema and mayo: Crema brings tang, mayo brings body. More on that below.
- Cotija or feta cheese: Cotija is the classic cheese for Mexican street corn: it’s a firm, salty Mexican cheese that crumbles. You should be able to find it in most grocery stores. If not, feta cheese is my go-to Cotija cheese substitute. Queso fresco also works, but it’s so much milder that I prefer feta.
- Chili powder, garlic powder, and cumin: These spices add savory flavor.
- Lime and cilantro. You’ll add these as a garnish for a hit of freshness.
Mexican Crema vs. Mayo for Elote
Mexican crema is the traditional ingredient for the sauce in Mexican street corn. It’s a thickened cream that’s slightly tangy, and falls between American sour cream and French crème fraîche. You can make Mexican crema at home or find it at most grocery stores.
I use both crema and mayonnaise because each does a different job: crema is tangier and looser, and mayonnaise is what makes the sauce cling to a hot cob instead of sliding off. If you can’t find crema, sour cream works well as a substitute.

How to Grill Corn for Elote
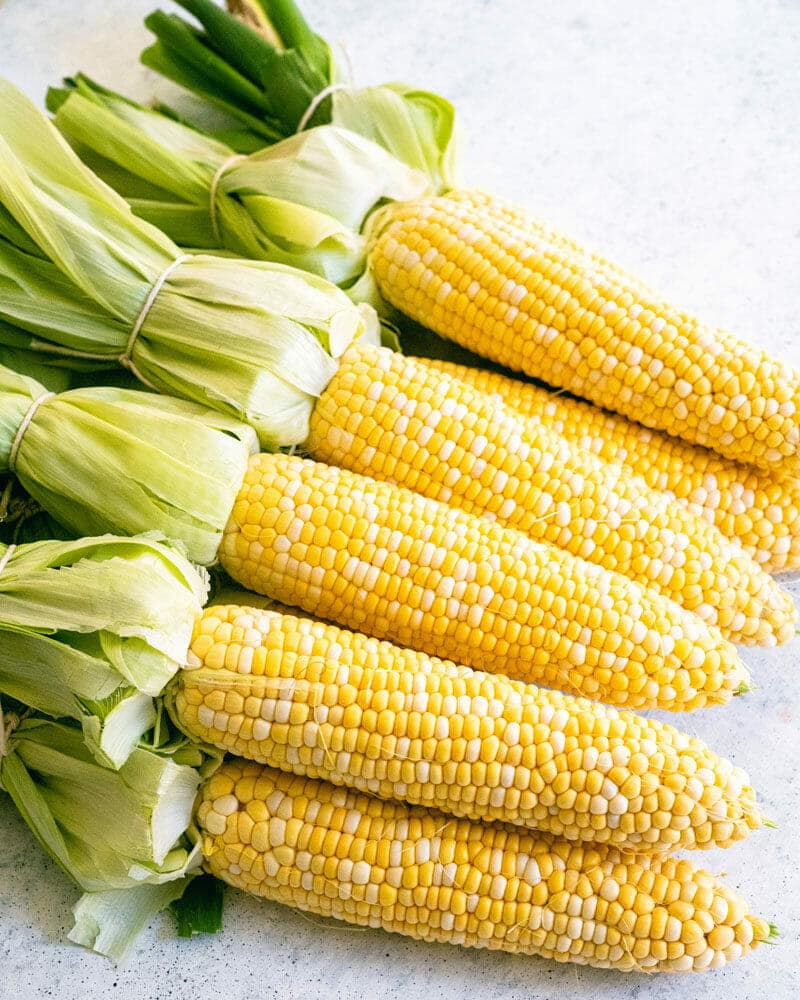
The main skill in how to make elote is grilling corn. There are lots of different methods for how to grill corn, but here’s what I like to do here. Peel back the corn husks and tie them with twine to make a built-in handle for eating the corn. Then place the cobs right on the grill and char to perfection.
Here’s how to grill Mexican street corn, aka elote (for quantities, jump to the recipe):
- Preheat a grill to medium high heat.
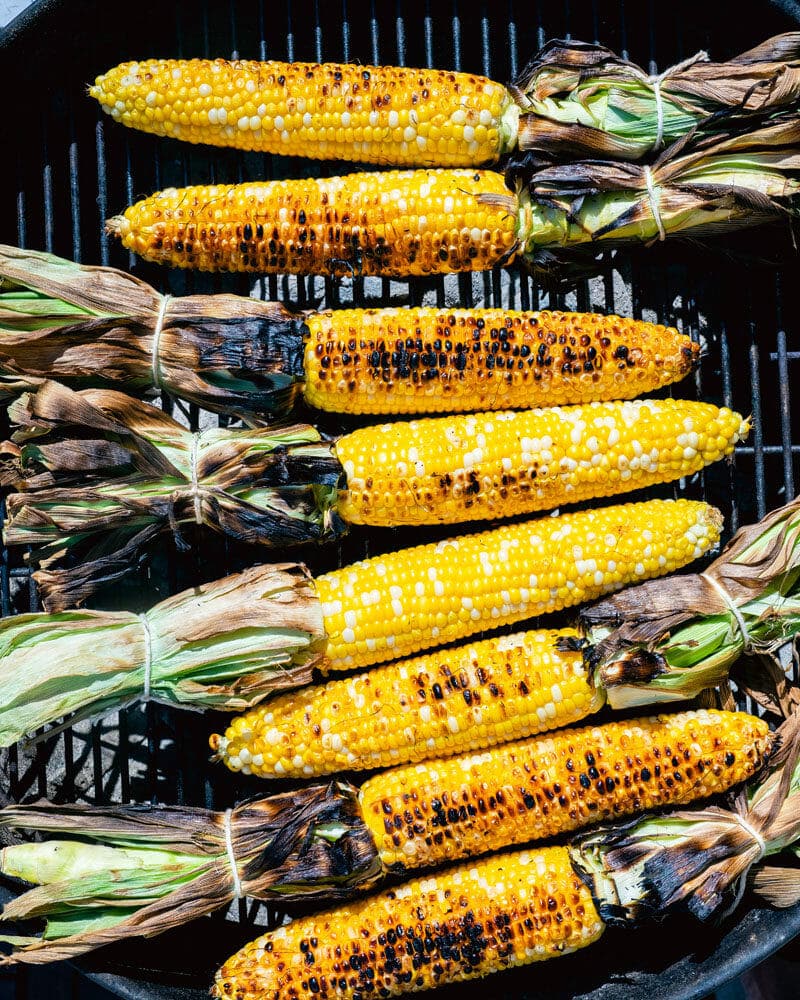
- Peel back the husks of the corn, peeling the outside layers one at a time and keeping them attached, facing downwards away from the cob. Then use kitchen twine or string to tie the leaves together. Rub the corn with oil.
- Place the corn directly on the grill grates and cook for about 12 to 15 minutes, until blackened, turning often.
- Make the sauce by mixing up the crema or sour cream, mayo, and spices. When the corn is done use a spoon to spread on the sauce. Use the husk as a handle for easy eating!
Tips for the Husk Handle
It takes a bit of extra time to husk the corn to make the handle, but it’s absolutely worth it! Here are a few tips to know about the process:
- Be patient! Instead of pulling off the husk as you would normally, you’ll keep each leaf and pull it back. It takes a little more time, but it’s worth it in the end. It took me about 15 minutes to husk all of the corn and then tie down the husk with kitchen twine.
- Start with the outer-most leaf first. It’s important to start with the outer-most leaf and pull down one leaf at a time, gradually working your way around the corn.
- Cracks are ok. When you pull down the leaves, you may notice they crack a little at the bottom. That’s completely ok: just keep pulling the remaining leaves — it doesn’t have to be perfect!
Elote in a Bowl: Esquites and Elote Salad
When elote is served off the cob in a cup or bowl, it’s called esquites: it has the same flavors but is eaten with a spoon for less mess. All you do is cut the kernels off after grilling and toss them with the sauce, then serve in small cups with a spoon.
Once you’ve made elote a few times, another great way to serve it is as a salad! This Elote Salad recipe uses corn cut from the cob, seasoned with the same flavors. The creamy sauce is out of this world! It’s great as a summer side dish or a component in a bowl meal.

Ways to Serve Mexican Street Corn
The first time I made this Mexican street corn I served it on a menu that included Grilled Shrimp Tacos and Lime Daiquiris. It’s one of my very favorite vegetarian Mexican recipes. Here are a few more Mexican style dinners, sides, and drinks that would complement elote:
- Shrimp: Shrimp Tacos, Grilled Shrimp or Cilantro Lime Shrimp
- Tacos: Cauliflower Tacos, Loaded Quinoa Tacos, or Refried Bean Tacos
- Enchiladas: Sweet Potato Black Bean Enchiladas or Vegan Enchiladas
- Salad: Mango Salad with Grilled Shrimp
- Margaritas: Classic, Skinny, Frozen, Jalapeno, Strawberry, or Watermelon
- Sides: Mexican Coleslaw or Mexican Salad
- Dips: Refried Bean Dip, Best Salsa, Simple Guacamole

Storage and Make-Ahead Tips
The sauce can be mixed up to 3 days ahead and refrigerated. You can also tie the husks in the morning and keep the cobs refrigerated until you’re ready to grill.
Leftover dressed corn keeps 2 days in an airtight container. You can eat it as is or slice off the kernels to use in quesadillas or a burrito bowl.
Dietary Notes
This elote recipe is vegetarian and gluten-free.
Elote (Mexican Street Corn)

5 Stars 4 Stars 3 Stars 2 Stars 1 Star
5 from 1 review
This Mexican street corn recipe (aka elote) is grilled until charred, then slathered in a creamy chili-lime sauce. Tie back the husks for a built-in handle!
- Author: Sonja Overhiser
- Prep Time: 20 minutes
- Cook Time: 15 minutes
- Total Time: 35 minutes
- Yield: 8 1x
- Category: Side
- Method: Grilled
- Cuisine: Mexican
Ingredients
- 8 ears corn
- 1 tablespoon neutral oil (grapeseed, vegetable, sunflower — or substitute olive oil)
- ½ cup sour cream or Mexican crema
- 2 tablespoons mayonnaise
- ½ cup crumbled Cotija cheese or feta cheese
- ½ teaspoon chili powder
- ¼ teaspoon garlic powder
- ¼ teaspoon cumin
- ¼ teaspoon kosher salt
- Lime wedges, for serving
- Cilantro, for garnish
Instructions
- Heat a grill to medium high.
- Shuck the corn by peeling down the outside layers one at a time and keeping them attached, facing downwards away from the cob. When you’ve finished, use kitchen twine or string to tie the leaves together (see the photos).
- Use your hands to rub oil on each corn cob evenly, then place them on a baking sheet.
- In a small bowl, mix the sour cream, mayonnaise, feta or queso fresco (crumbling any large chunks into smaller chunks with your fingers), chili powder, garlic powder, cumin, and kosher salt in small bowl.
- Place the corn on the grill and cook until it begins to blacken, then turn. Cook about 12 to 15 minutes total, until blackened on all sides.
- Place the corn back on the baking sheet and use a spoon to coat it with cheese mixture. Garnish with a squeeze of lime and torn cilantro leaves. Serve immediately, using the tied husks as a handle for easy eating.
from A Couple Cooks https://ift.tt/4NQsP3g