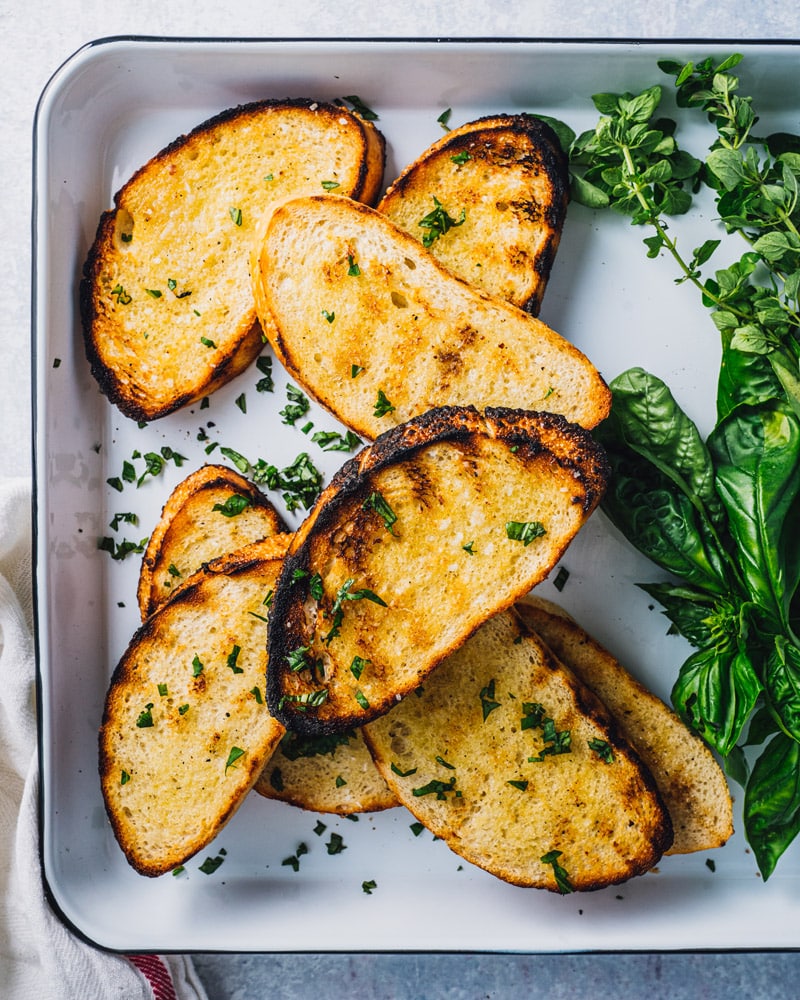
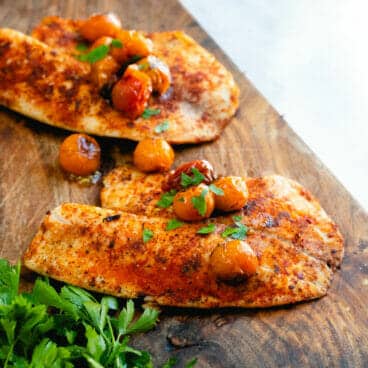
This grilled bread comes out crispy with a perfect char in just 10 minutes! Use it as a base for appetizers or make grilled garlic bread as a stunning summer side dish.
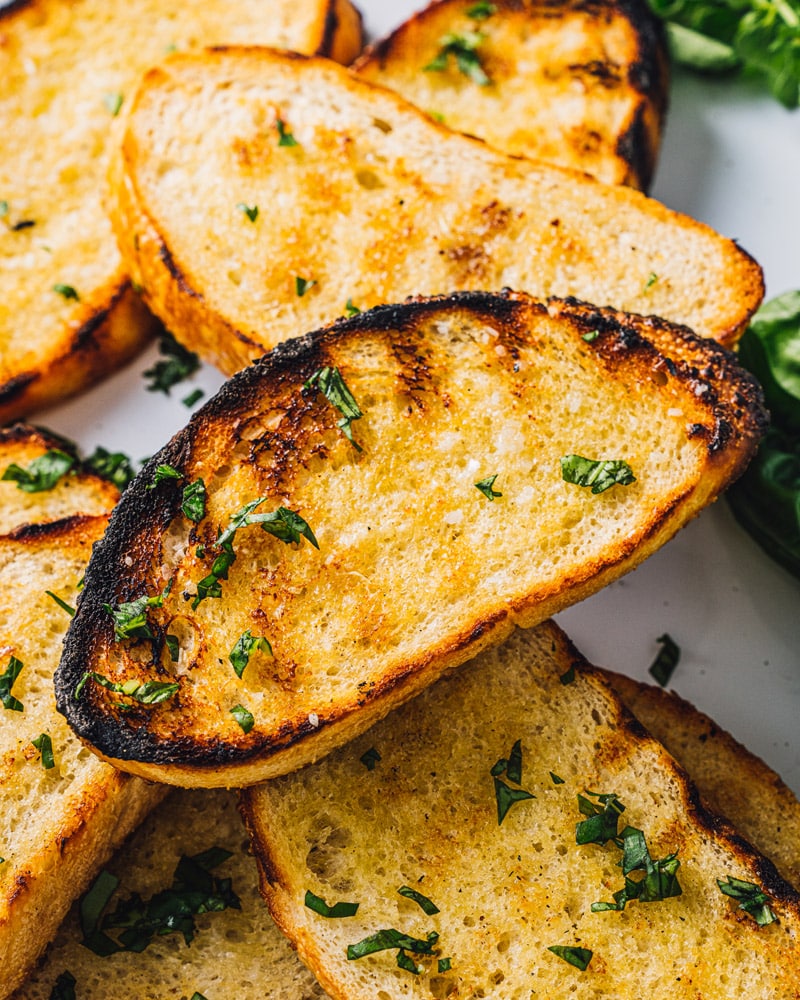
Need an amazing appetizer or side dish? Enter: grilled bread! In my opinion, there’s nothing quite like bread for soaking up the charred, smoky flavor of the grill.
This recipe works two different ways: first, you can use it as a base for a summertime bruschetta or fancy toast. Or, make it as grilled garlic bread: a delicious side dish that’s fantastic for any summer meal!
Ingredients You Need
Grilled bread is delicious for appetizers, but honestly we love it as grilled garlic bread the most! Either way, you don’t need many ingredients for this recipe. Here’s what you’ll need:
- Bread: any type of rustic artisan loaf will do! A good ciabatta is nice, but anything works
- Olive oil: for brushing
- Kosher salt: for sprinkling
If you’re going the garlic bread route, you’ll need garlic as well. You can finish the bread with olive oil or butter, but it’s not required. All you need to know: brush the slices with olive oil before throwing it onto the grill.

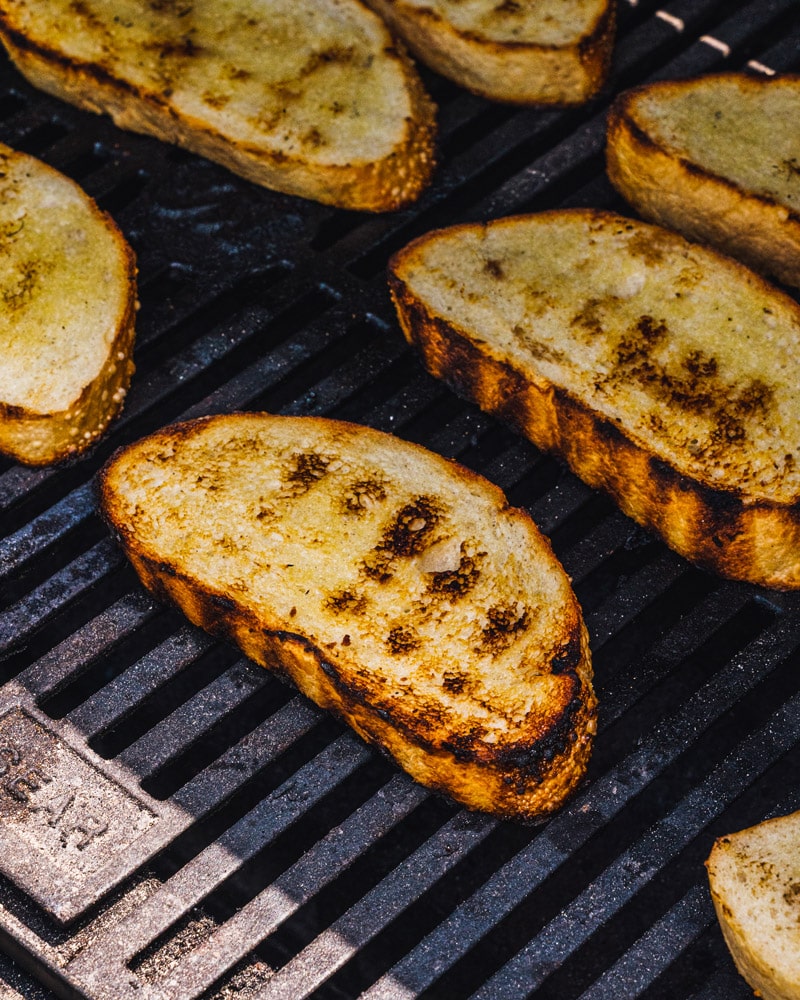
How to Grill Bread: Temperature and Timing
All you need to know about how to grill bread? The grill temperature and the timing. Once you’ve mastered that, just memorize it and make this bread on repeat. Here’s what to know:
- Preheat the grill to medium high: that’s 375°F to 450°F.
- Cook on the grates 1 to 2 minutes per side. That’s it! You’ll want to be just started to get charred at the edges.
How to Make Grilled Garlic Bread
Want grilled garlic bread? This recipe works for it too. The trick? Rubbing garlic on the bread. It sounds odd, but it really works! This is the method used in the Spanish tapas recipe, pan con tomate and it works like a charm.
- Rub the cut side of a peeled garlic clove on the bread. This infuses massive garlic flavor into each toast! It doesn’t look like anything, but trust us! Take one bite and it’s perfectly garlicky.
- Or, make garlic butter and brush it on after grilling. Follow the instructions in our Garlic Bread recipe.
Topping Ideas: Build an Appetizer
Another way to use grilled bread? For summery appetizers and fancy toast! Here are some great ideas for ways to top this crunchy toast:
- Classic bruschetta: Chop tomatoes, garlic, and basil to make a tangy classic Italian topping, adding Balsamic Reduction if you like.
- Whipped feta and honey: Top with Whipped Feta Dip, a drizzle of honey, and a crack of black pepper.
- Goat cheese and mushrooms: Spread on goat cheese, sauteed mushrooms, and fresh oregano.
- Pesto and ricotta: Add ricotta, basil pesto, and a few blistered tomatoes for the perfect summer bite
- Fruit: and cheese Try a layer of goat cheese or ricotta, then strawberries or blackberries and a drizzle of honey
Serving Suggestions
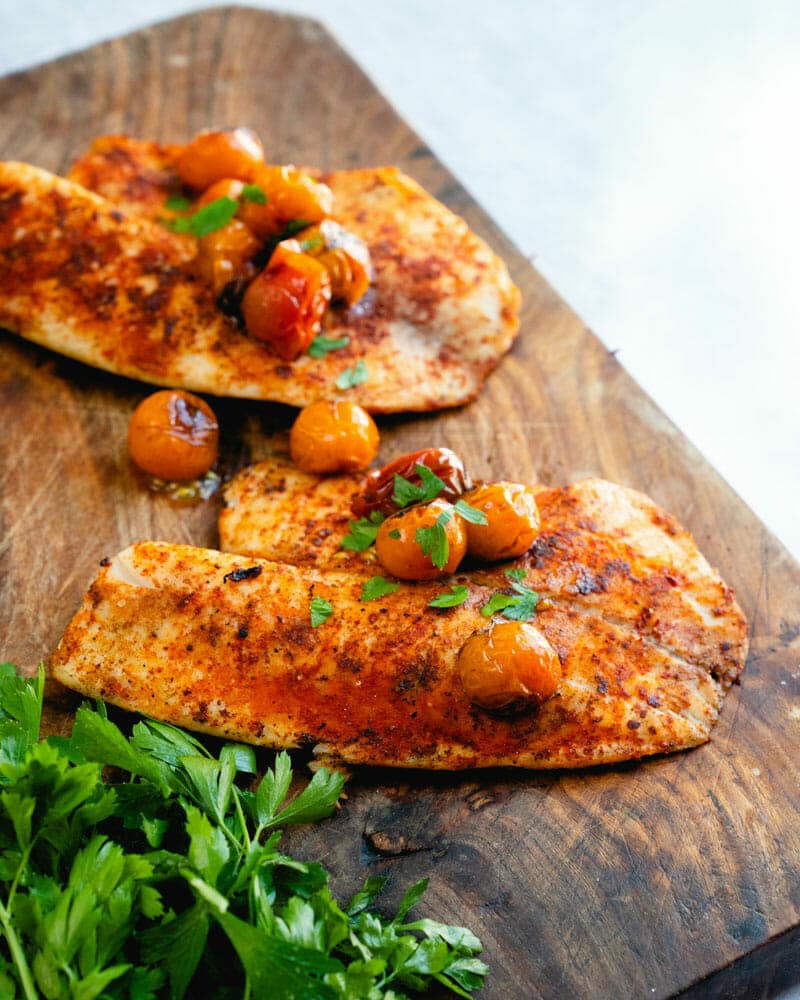
- Alongside grilled chicken thighs or grilled tuna steak as a smoky, satisfying side
- As a starter platter for a summer cookout (see the topping ideas above)
- With a big grilled chicken salad
- Alongside soups, especially gazpacho: the char complements the broth well
- Paired with 25 Grilled Dinner Ideas for a full summer grill menu
Storage
Grilled bread is best eaten immediately while it’s warm. If you have leftovers, store them in a bread bag or wrapped in a towel use within a day. You can re-crisp slices in a 375°F oven for a few minutes if you’d like, or even pop them in the toaster.
Dietary Notes
This grilled garlic bread recipe is vegetarian, vegan, plant-based and dairy-free.
Grilled Bread (Garlic or Plain!)

5 Stars 4 Stars 3 Stars 2 Stars 1 Star
5 from 1 review
This grilled bread comes out crispy with a perfect char in just 10 minutes! Use it as a base for appetizers or make grilled garlic bread as a stunning summer side dish.
- Author: Sonja Overhiser
- Prep Time: 5 minutes
- Cook Time: 5 minutes
- Total Time: 10 minutes
- Yield: 8 slices 1x
- Category: Side Dish
- Method: Grilled
- Cuisine: Grilled
- Diet: Vegan
Ingredients
- 8 slices of rustic bread
- 2 tablespoons olive oil
- 1 garlic clove, peeled and sliced in half (optional)
- Butter (optional)
Instructions
- Preheat: Preheat a grill to medium-high heat (375 to 450 degrees).
- Grill: Brush each side of the bread lightly with olive oil. Place the slices on a baking sheet and sprinkle with 1 pinch of salt on top of each. Grill 1 to 2 minutes per side, until crispy and just starting to char on the edges.
- Serve: Remove from the heat. If desired, rub each slice with the cut side of the garlic and a bit of butter or additional olive oil (we rubbed on a small pat of butter between all the slices). Add another sprinkle of kosher salt if serving plain as garlic bread, and top with chopped herbs if desired.
More Grill Recipes to Try
There are so many ways to grill up delicious treats in the summer! Here are some of our top grilled recipes:
- Go for grilled fish like Grilled Salmon in Foil, Grilled Shrimp Salad, Grilled Tuna Steak or Grilled Fish Tacos
- Grab a burger like Classic Salmon Burgers, Portobello Mushroom Burger or Veggie Burger Recipe
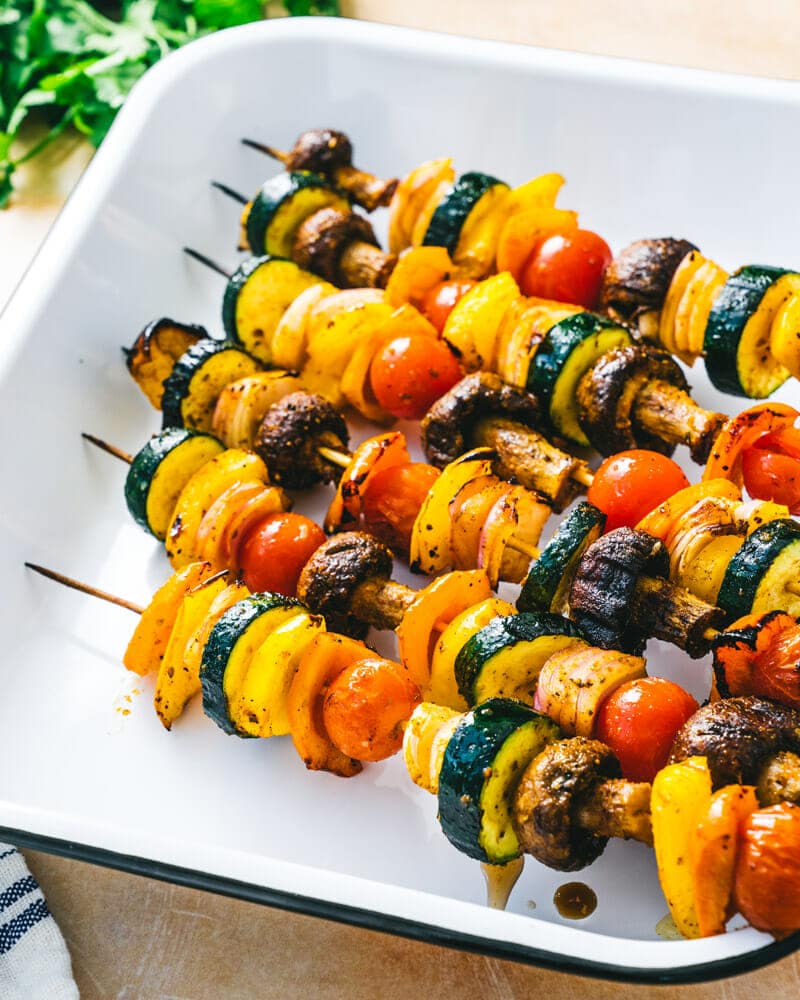
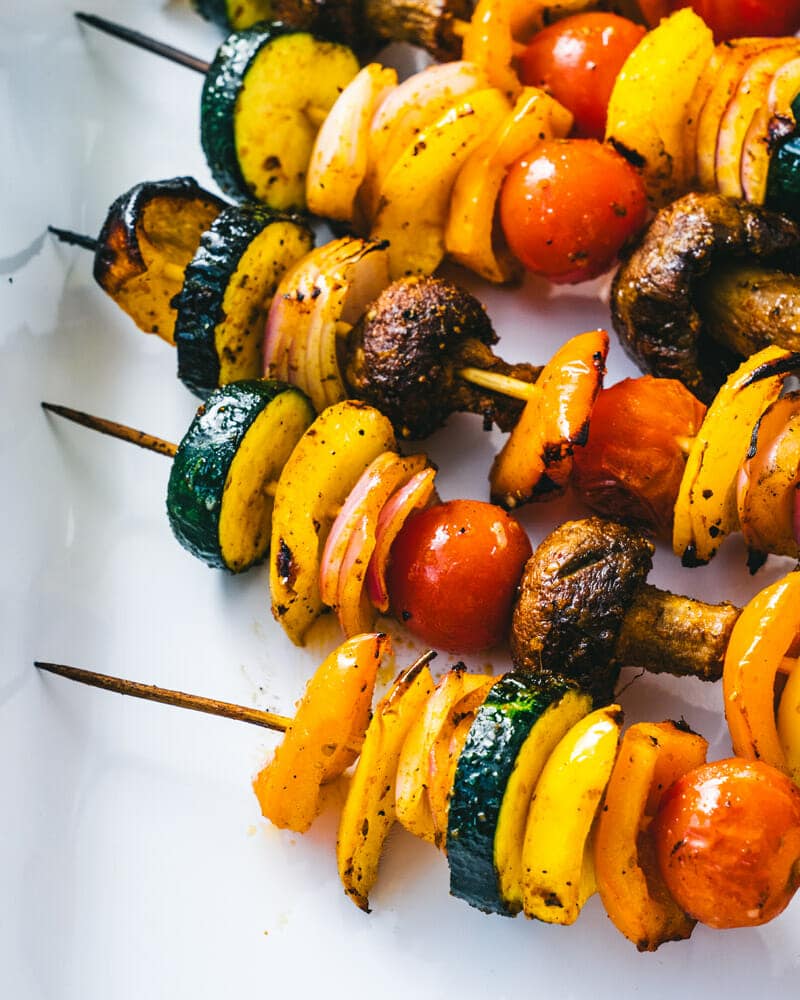
- Opt for veggie grilled sides like Perfect Grilled Corn on the Cob, Grilled Veggie Kabobs, Baked Potato on the Grill and more
- Try grilled desserts like Grilled Apples a La Mode, Grilled Peaches or Grilled Bananas
from A Couple Cooks https://ift.tt/U4HbCqD


 I followed your exact ingredients and did the zucchini and squash and added pineapple to the mix, Delish…The veggies are so flavorful and honestly, this combo is very filling.” -Natalie