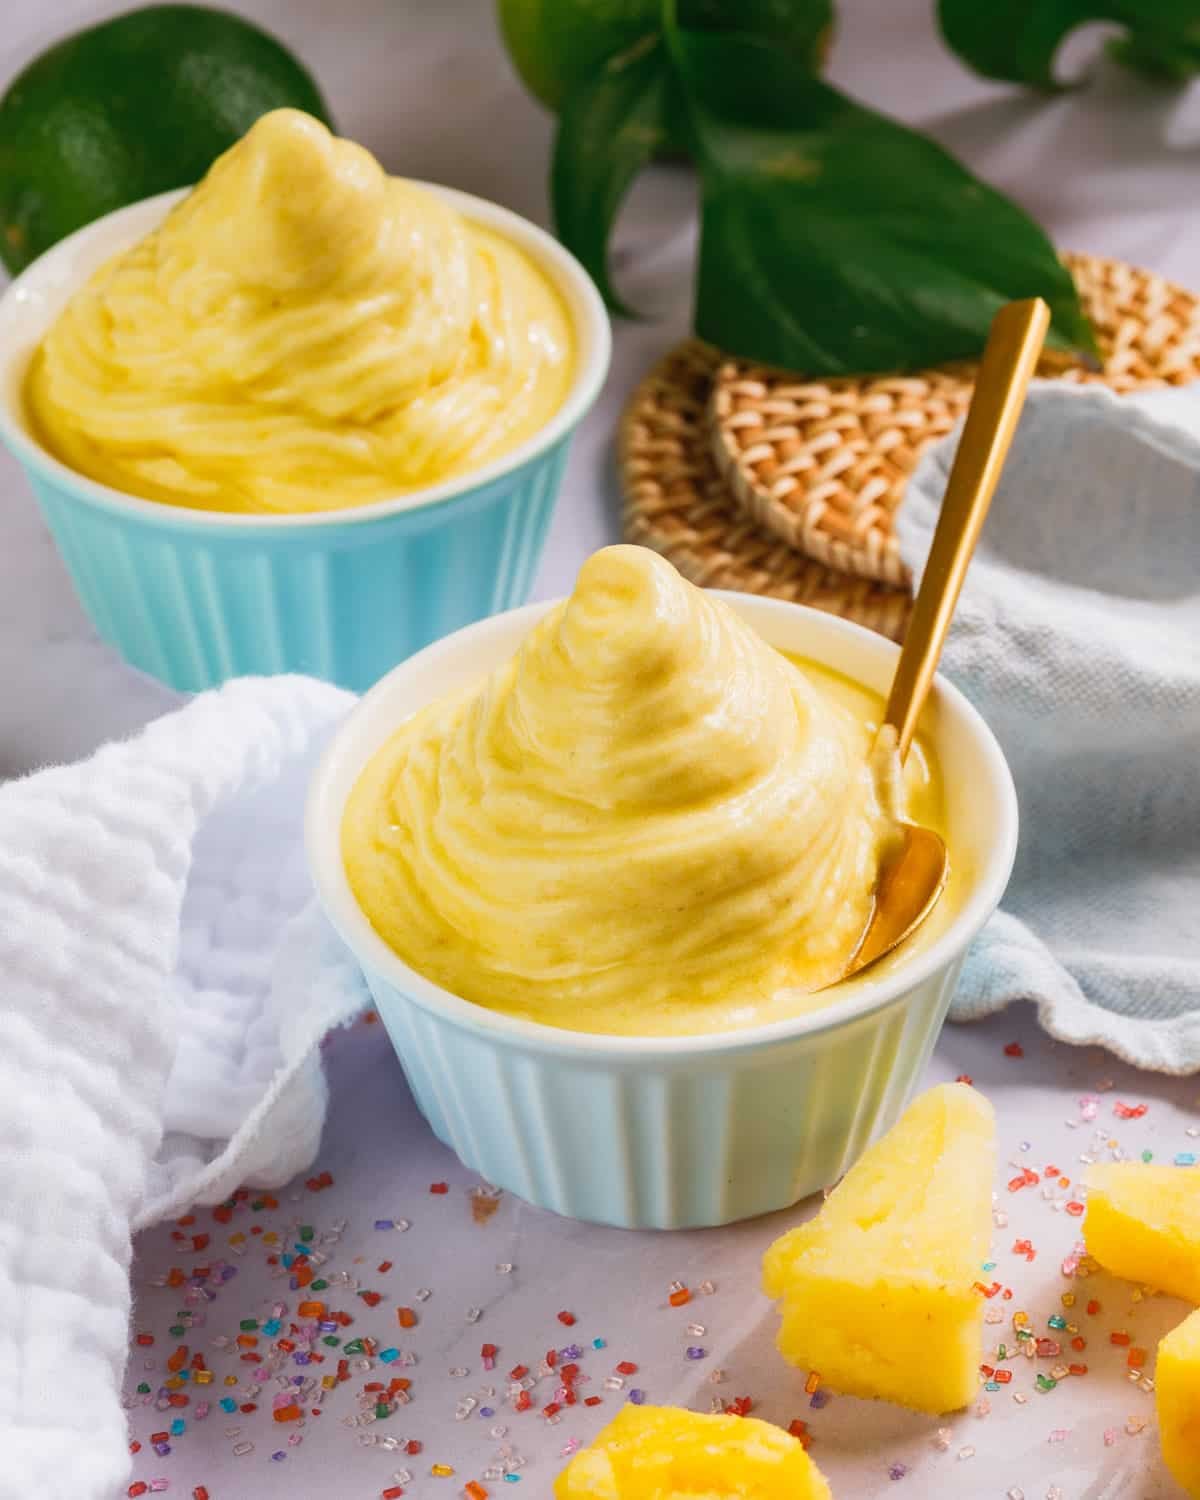
This creamy homemade Dole Whip recipe is an easy healthy dessert made with real ingredients in 5 minutes: frozen pineapple, banana, coconut milk, maple syrup, and lime. Dairy-free and delicious!
There’s a little soft serve shop near my house that’s become one of my family’s favorite spots because of one frozen treat: Dole Whip! My lactose-intolerant son loves it, and even I personally can digest it way better than a standard ice cream cone. No stomach aches, just a swirly tangy-sweet frozen treat!
It’s so simple to make Dole Whip at home: it’s literally just frozen fruit blended into a soft-serve consistency, kind of like nice cream. My homemade version uses all real food ingredients: five ingredients, five minutes of blending, pure deliciousness! It’s the perfect healthy dessert.
What Is Dole Whip?
It actually surprises me how many people I’ve excitedly told we have a Dole Whip place near us, and they say, “what’s Dole Whip?”
Dole Whip is a soft-serve frozen dessert served at Disney theme parks, and also at the Dole Plantation in Hawaii. The original was created by Dole Foods and is completely dairy-free. The classic flavor is pineapple: it’s light, refreshing, and tropical (though the soft serve place near me also serves strawberry Dole Whip).
My homemade version uses frozen banana and coconut milk for creaminess. It’s so similar to the real thing and made entirely with whole food ingredients! I eat the Mediterranean diet so it’s a perfect Mediterranean diet dessert that’s also vegan and gluten-free.
Ingredients You’ll Need
Here’s a look at what goes into this homemade Dole Whip and why each ingredient matters:
- Very ripe frozen banana: A ripe banana (ideally very brown or black) is the secret to a smooth base — similar to my banana ice cream.
- Frozen pineapple: This is important: use a quality brand with bright yellow chunks. I made this with pale frozen pineapple (Fresh Market brand — don’t use it!) and it came out with a white color and a less pronounced pineapple flavor.
- Pure maple syrup: Pure dark maple syrup adds sweetness with a hint of depth and is totally natural.
- Full-fat coconut milk: Just a splash makes a silky consistency — resist the urge to add too much!
- Fresh lime juice: The lime lifts all the flavors: it’s important to making it taste irresistible.
How to Make This Dole Whip Recipe
Making this at home couldn’t be simpler: all you need is a large food processor. It’s actually very important to have a food processor because there is a large quantity of frozen fruit so it takes a while to blend (versus a pineapple smoothie where you have a lot of liquid). Here’s what to do:
- Step 1: Freeze. Freeze your banana. Peel, slice, and freeze at least 2 hours ahead (or overnight). This is a great use for overripe bananas!
- Step 2: Blend. Add all ingredients to a large food processor and blend on high, stopping to scrape down the sides as needed. Keep going: this takes about 5 minutes of processing to get fully smooth and creamy. Don’t rush it. Add a small drizzle more coconut milk or maple syrup if it’s struggling to blend.
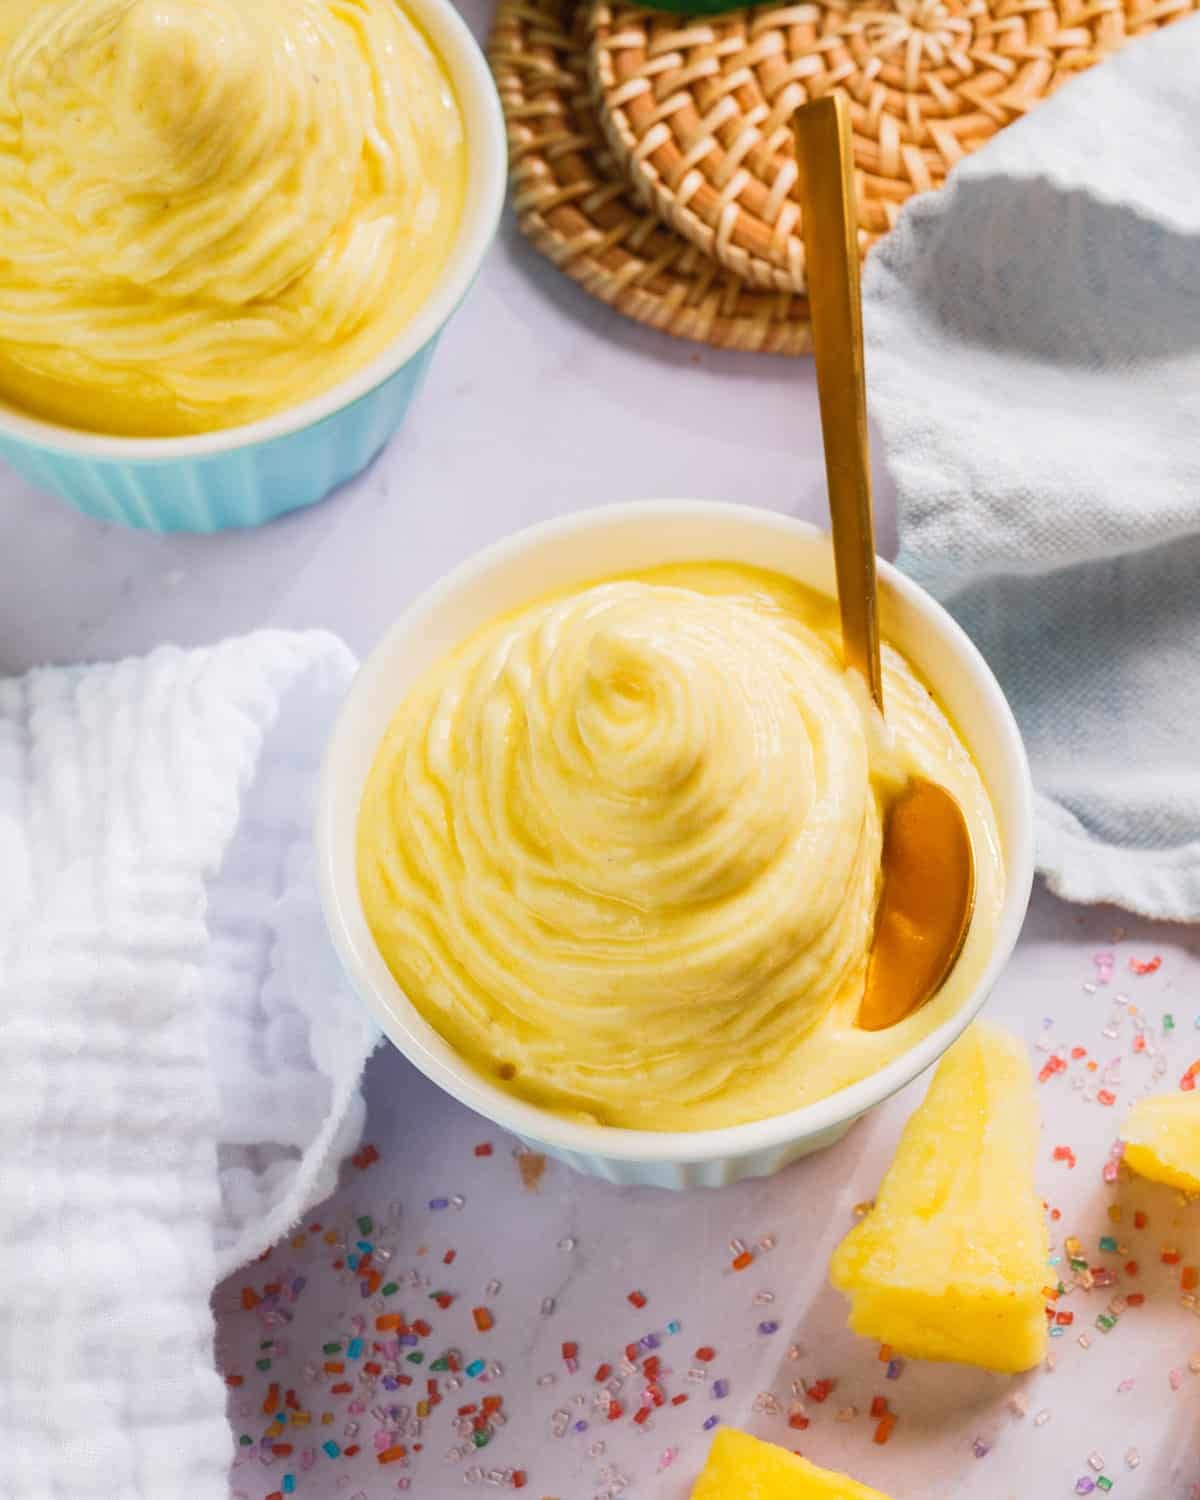
- Step 3: Serve. Serve immediately for that soft-serve texture.
Serving Suggestions
- Serve in small cups and eat with a spoon! For the photos we used a pastry bag to pipe it into a soft-serve type look, but honestly I wouldn’t recommend it because it’s a little fussy. Just add it to a cup and go!
- In ice cream cones for a fun treat
- Top with tropical toppings: toasted coconut, crushed macadamia nuts, or a drizzle of honey
- Serve at a party as a dessert with grilled chicken or grilled tofu and a few summer salads.
Storage Tips (Important)
Dole Whip is best eaten right away, while it still has that soft-serve consistency. Because it doesn’t have stabilizers like commercial soft serve, it freezes very hard overnight.
If you do store leftovers, cover in a sealed container and freeze. Before serving again, let it sit at room temperature for 20 to 30 minutes to soften: the texture will be much more icy after storage.
Dietary Notes
This Dole Whip recipe is vegetarian, vegan, plant-based, dairy-free, and gluten-free.
Dole Whip Recipe (5 Minutes!)
5 Stars 4 Stars 3 Stars 2 Stars 1 Star
No reviews
This creamy homemade Dole Whip recipe is an easy healthy dessert made with real ingredients in 5 minutes: frozen pineapple, banana, coconut milk, maple syrup, and lime. Dairy-free and delicious!
- Author: Sonja Overhiser
- Prep Time: 5 minutes
- Cook Time: 0 minutes
- Total Time: 5 minutes
- Yield: 4 1x
- Category: Dessert
- Method: Frozen
- Cuisine: American
- Diet: Dairy-Free, Gluten-Free, Mediterranean Diet, Vegan, Vegetarian
Ingredients
- 1 very ripe banana, sliced and frozen (see Notes)
- 16 oz (455 g) frozen pineapple chunks (see Notes)
- 3 Tbsp pure dark maple syrup
- 2 Tbsp full-fat coconut milk
- 1 Tbsp fresh lime juice
Instructions
- In a food processor, blend all ingredients until fully smooth and creamy, about 5 minutes, stopping and scraping as necessary and adding a small drizzle of maple syrup or coconut milk to taste. (It takes quite a while to blend since there’s a lot of fruit versus liquid, so be patient!) Serve immediately. (You can use a piping bag to swirl it into a cup if desired, but it’s easiest to spoon it into a cup.)
- Dole whip is best eaten the day it is made. If you store it overnight it becomes very hard (due to the lack of stabilizers compared to store-bought ice cream), so allow it to sit at room temperature for 20 to 30 minutes before serving.
Notes
It’s important to use a very ripe banana (here’s how to freeze bananas) and also quality frozen pineapple. Make sure the pineapple is bright yellow and a good brand (ideally Dole, of course!). I like using a very ripe banana that I freeze myself, because I find often store-bought frozen bananas aren’t as sweet.
More Frozen Treats to Try
from A Couple Cooks https://ift.tt/Q0JNUHW